 If you read enough blog posts and articles, everyone wants to talk about technique on the big lifts.
And who am I to complain? I covered all of that in-depth in my Squat, Bench Press and Deadlift blog posts over the years.
But you know what? I’d argue that 90+% of all lifts are missed before they’re even started.
That’s right – more than 90% are missed before they’re ever started, because someone didn’t set-up optimally.
So that’s what we’re going to cover over the next few posts. I’m going to beat you over the head, until you submit to my evil will and learn to set-up correctly on all of the big lifts.
Today, our focus is on the squat.
Even if you’ve read everything I’ve written up to this point, I think we’re going to cover some new ground here, or at the very least, refine and tweak to make things even better.
But First, a Disclaimer….
This post is not geared towards powerlifters that use any sort of performance enhancing gear (i.e. squat suits, bench shirts, deadlift suits, knee wraps, etc.)
Now before I go any further, let me say that I have all the respect in the world for anyone who competes in powerlifting. I love the sport, so regardless of whether you compete raw, geared, or nude, I respect what you do.
I’ve competed in gear for most of my career, but it muddies the waters, and I want to keep this post as clear and straight-forward as possible.
Now that we’ve got that out of the way, let’s talk about setting up for bigger squats, benches and deadlifts!
Setting up to Squat
Before I get into my specific tips, I want to give you a brief overview on my squatting philosophy, as it stands today.
- I want the entire core engaged. I don’t want a huge arch in the lower back/anterior pelvic tilt, which taxes the erectors and wears down the lower back. Instead, I want the diaphragm and pelvic floor facing each other throughout the course of the lift.
- I want the squat to look like a squat. It may not be as knee/ankle dominant as a front squat, but I definitely don’t want it to look like a deadlift or good morning, either.
- I want to go through a full range of motion. The squat should not only be good for developing strength, but maintaining mobility as well. Going through quarter squats won’t cut it.
Now that you know where I’m coming from, let’s set-up to squat big!
Squat Set-up Step #1 – Exhale
Too often, athletes and lifters alike are walking around in a hyper-inflated state.
In other words, their hip flexors and lower back are engaged like no other, their chest is puffed out, and they can’t get exhale properly to save their life.
Doing this not only compresses the living daylights out of your lower back/lumbar spine, but it lengthens some of the major players on the backside of the body – namely the glutes and hamstrings.
Before you approach the bar, exhale hard to allow the ribs to come down and the pelvis to come up and underneath you slightly.
Keep in mind – this is not a draw in.
I repeat, this is NOT a draw in.
Get the air out to optimize your starting position, and then approach the bar.
Squat Set-up Step #2 – Grab the Bar
The next step is to grab the bar. Where you grab the bar to back squat is dependent not only on your shoulder flexibilty, but how you choose to stabilize your spine as well.
When you go with a very narrow grip (i.e. shoulder width), and then crank your elbows underneath the bar, you’re putting the pecs and lats on serious stretch.
This is exactly how I used to do it. Setting up in this way gives you a ton of stability and control through the upper back, and it also helps keep you from getting pitched forward with the bar on your back (which is never a pleasant experience!)
But the downside is, it will also throw you into that same hyper-extended/hyper-lordotic low back position, which simply isn’t ideal.
Nowadays I’m opting for a slightly wider hand grip, with the bar placed a bit higher than in the past.
Furthermore, if you have bad shoulders and/or poor mobility, you’ll have to grab the bar wider just to get into position.
Squat Set-up Step #3 – Step under, scaps back
The next step is to walk yourself underneath the bar, and set the bar at the appropriate position.
Now “appropriate” can mean a lot of things – it could mean very high on the upper back, or it could mean quite low (almost on the back of the shoulders).
I try to cue my lifters to pull their shoulder blades/scapulae back, and then rest the bar on top of this “muscle shelf.” Even the lightest, boniest human being known to man can do this without resorting to a pad or towel in between themselves on the bar.
When you place the bar too high on the back, it ends up resting on the neck. Hopefully I don’t have to explain why a loaded barbell on your neck is a bad thing.
On the other hand placing the bar too low again puts a ton of demand on mobility through the shoulders. And if you don’t have the requisite mobility, you end up arching the upper and lower back in an effort to compensate.
Again, not ideal.
There’s definitely a sweet spot here, and it may take some reps to figure it out. But when you do, I guarantee the bar will not only feel great on your back, but your core and torso position will be better, too.
Squat Set-up Step #4 – Big breath, stand up, settle
This part can be tricky. Once you’re underneath the bar, you’re going to take a big breath in, but you’re going to do that while keeping your core in the same position.
In other words, don’t take a big breath in and let the lower ribs flare and the pelvis tilt forward.
Take that big breath and hold it, then press up into the bar. Don’t pick it up yet, just “feel” it.
I’ll often press aggressively into the bar two or three times without picking it up, just to prepare myself for how it’s going to feel. Doing this has always helped the bar feel lighter, and I feel more in control.
Next, stand up with the bar, and this part is key – hold it there for a second!
Too often, you see people stand up and start stepping back all in one motion. This may be fine if you’re using what amounts to light weight for you, but as the weight gets heavier, you need to demonstrate more control.
So stand up, and let the plates and your body settle for a minute. Feel it out, and then start to step back.
Squat Set-up Step #5 – Gimme Three Steps
First off, kudos if you got the beautiful song analogy there.
I like to use three steps to set-up when squatting. The first step clears you from the rack/J-hooks.
And in reality, it may be more of a 1/2 step than a full step. If the weight is heavy enough, the last thing you want to do is take four or five steps back to get into position.
So take one step back and set the foot in the ballpark of where you want it. Then take the other foot back and set it where you want it.
The final “step” will be setting your feet where you want them. Which leads us to….
Squat Set-up Step #6 – Foot stance and toe flare
For a raw squat, the feet should be set approximately hip-to-shoulder width apart. There are no hard and fast rules here, as everyone’s body (and therefore their squat) will be slightly different.
A general rule, however, is that the wider your feet, the more toe flare you need. So if you’re going extra wide, you need a ton of toe flare.
And if you’re super narrow, the feet are going to be toed out very slightly, if at all.
Now if I can riff for just a minute, I’ve taught a lot of raw squats in my day. The moderate stance width works incredibly well with a slight degree of toe flare.
I know people are now coaching the squat with a toes forward position, but I would respectfully disagree. While this is an incredible test for mobility purposes, I doubt it’s great for performance.
In my experience, the only people who can squat deep, with significant load, and the toes pointed forward either have anteverted hips, or amazing degrees of natural mobility.
For the rest of us, a slight degree of toe flare will open up the hips and ankles, and allow us to get into the hole with less effort.
A deeper and stronger squat is a superior squat if you ask me.
Squat Set-up Step #7 – Weight Distribution
Now that your feet are where you want them, it’s time to get your center of gravity set.
Too often, people start the squat on their toes (or the weight shifted forward), and they end up either getting caved over, or squatting with the weight on their toes.
Neither is optimal.
Shift the weight back towards the midfoot, or even slightly towards the heel. I always tell my athletes weightlifting and strength training may be the only sport where it’s beneficial to be on the heels.
Squat Set-up Step #8 – Neutral spine, breathe and brace
The last thing you need to do before squatting is get tight.
I’ll often set my back, take in a moderately deep breath, and brace my core as if I’m going to get punched in the stomach.
This brace should not be an arch. We’ve spent all this time trying to get into an ideal spinal position, so stay in a neutral spine position!
The final step is to make sure the head and neck are neutral as well. Often this requires you to pull the head/neck back a bit, to get them in-line with the rest of the spine.
Take that breath, brace the core, and you’re ready to rock.
Summary
So there you have it – a complete overview on how to set-up for the squat.
Some of this may be old hat, but I’d implore you to give some of the specific tips and tricks I’ve outlined here a shot.
Whether it immediately adds weight to the bar, or simply makes your squat feel more effortless, I’m willing to bet there’s something in here that will help take your squat to the next level!
Stay strong
MR
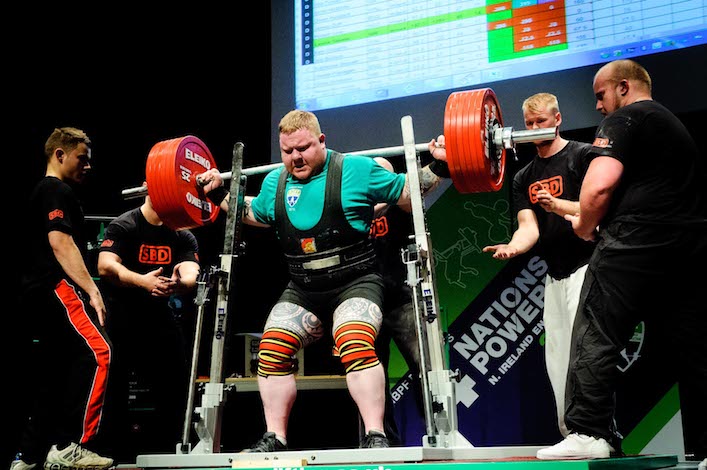
(Lead Photo courtesy of NIPF Powerlifting)