 The RDL, or Romanian deadlift, is a staple exercise for Olympic lifters and athletes alike.
It’s universally popular because it not only serves as a teaching tool for bigger lifts (full deadlifts, cleans, etc.), but it also builds the hamstrings and teaches people to flex and extend their hips properly.
However, I will go to my grave saying that the RDL is the single most challenging exercise to teach a rank beginner.
The simple notion of locking the spine in while pushing the hips back is incredibly challenging for most, which is why I’ve dedicated an entire blog post to it here today.
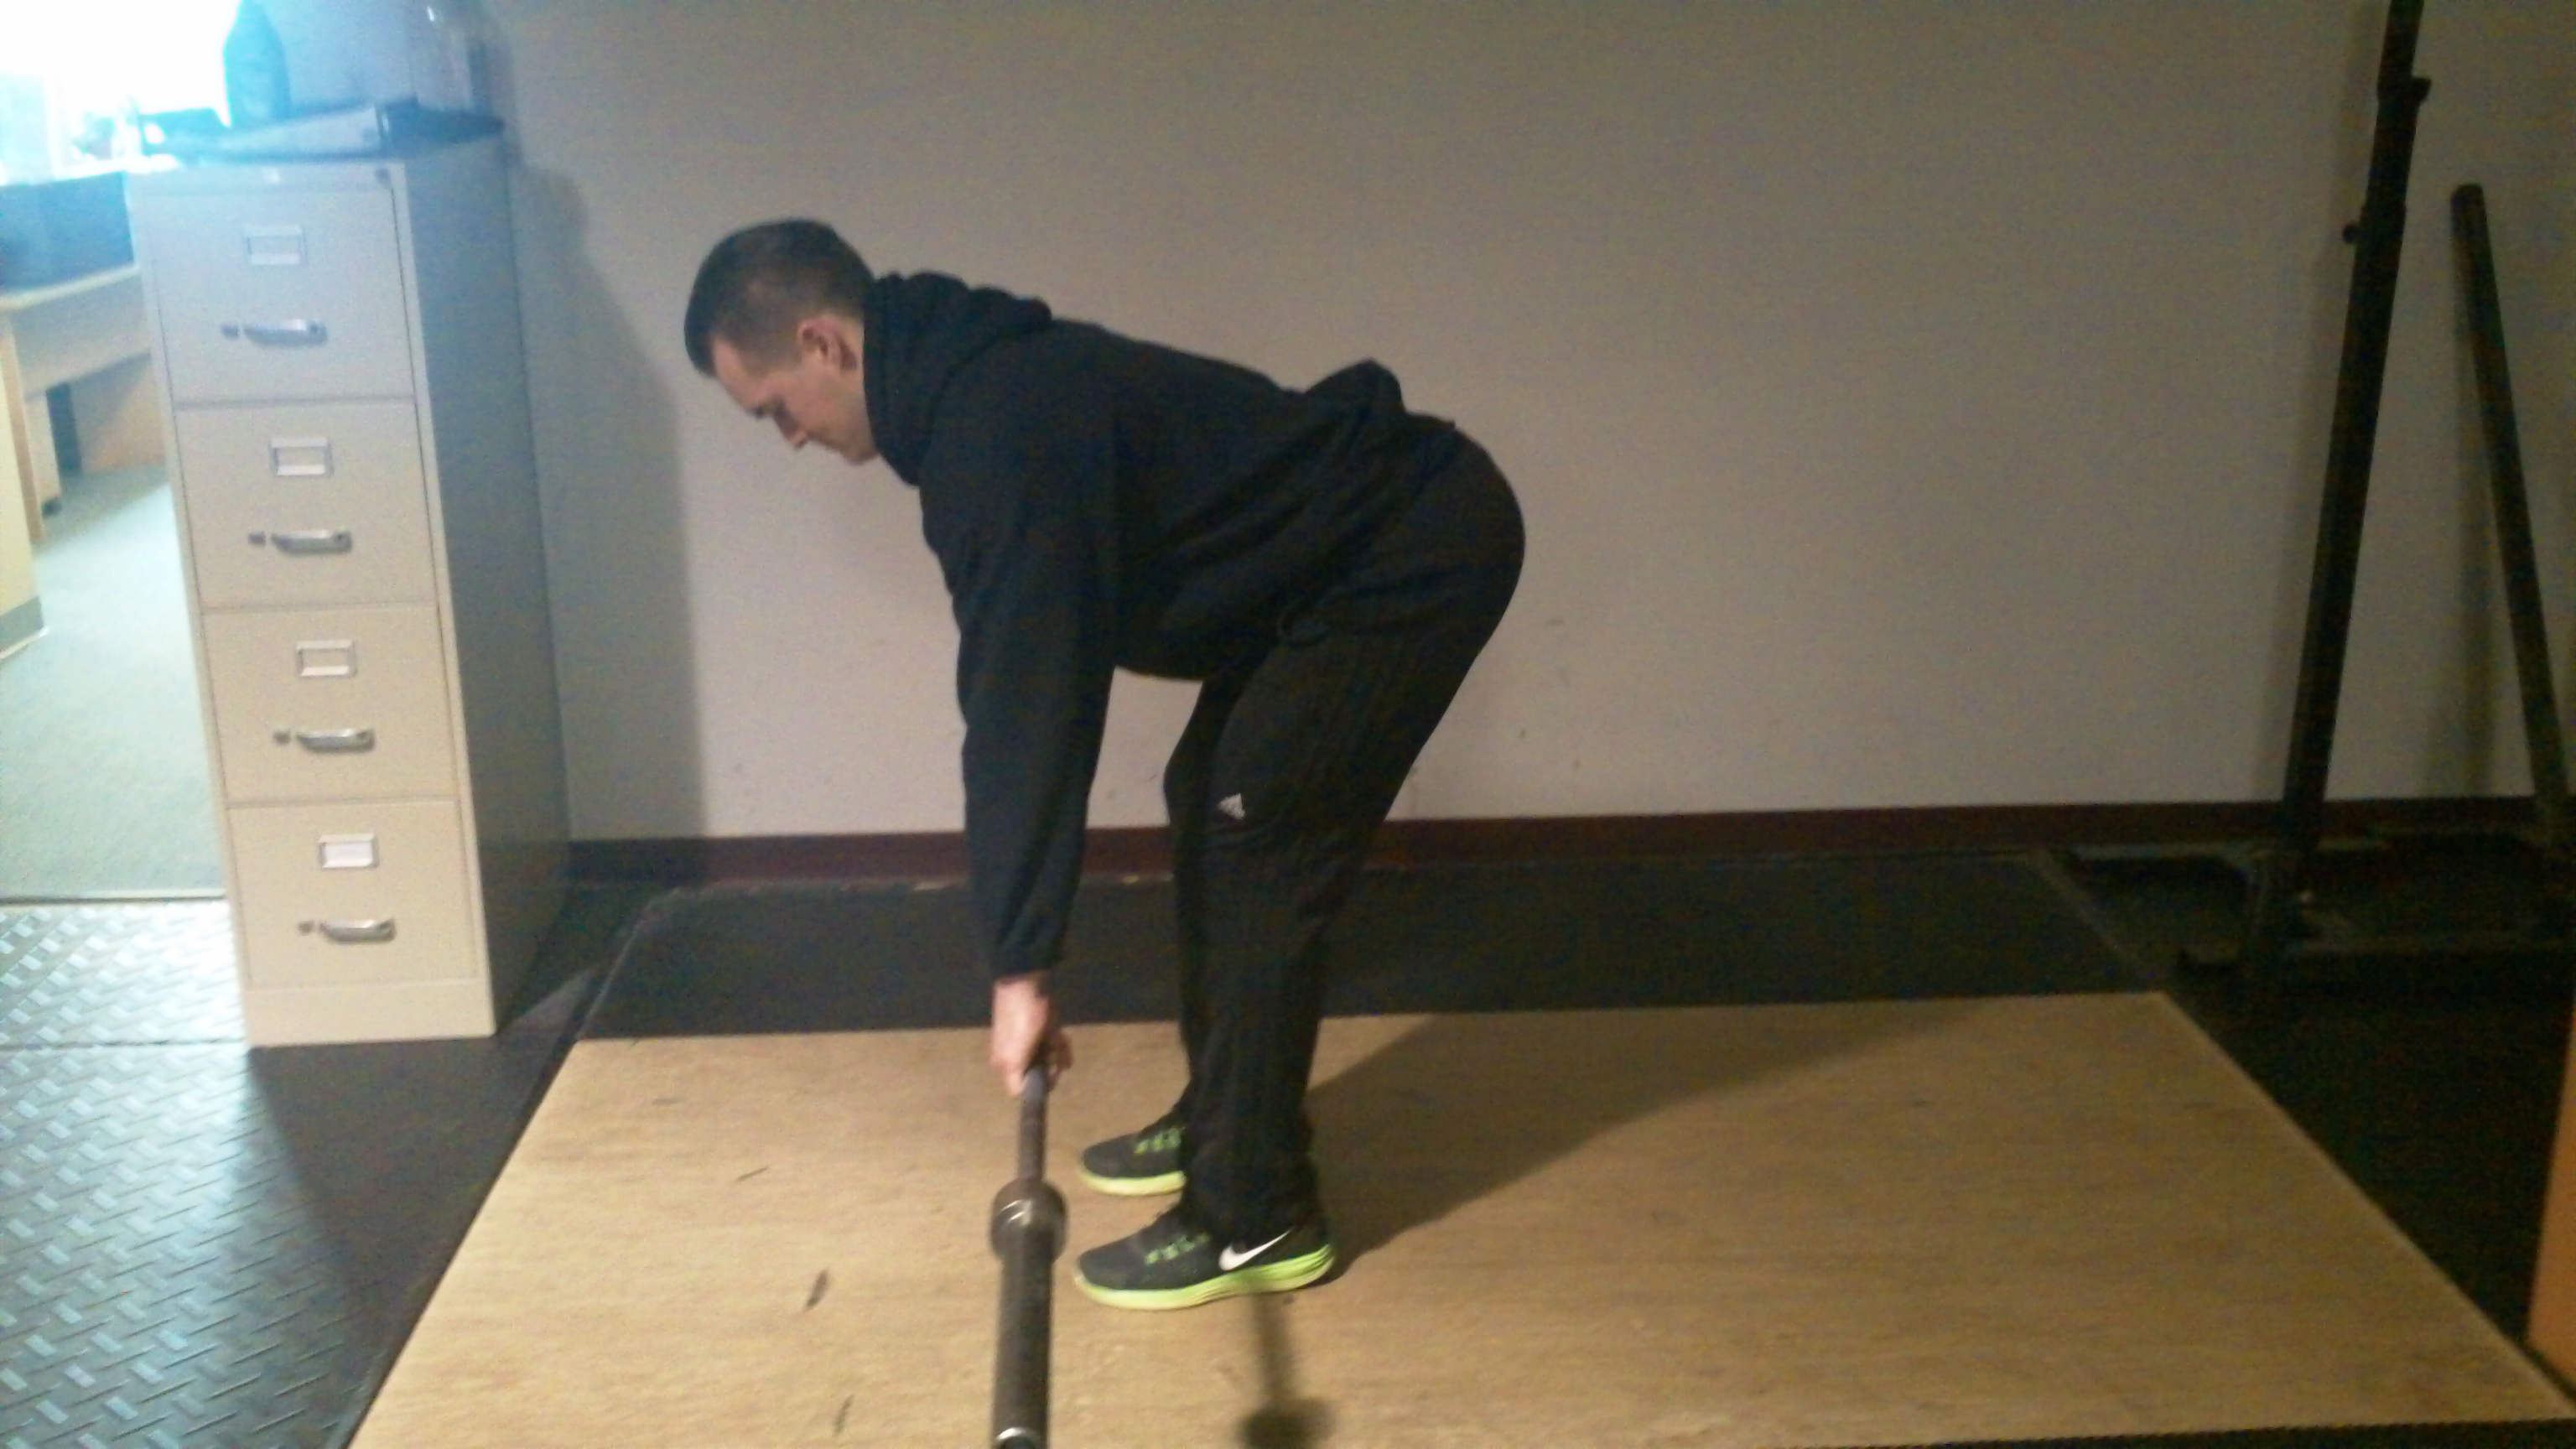
Let’s start with the basics – how to RDL properly – first.
How to RDL
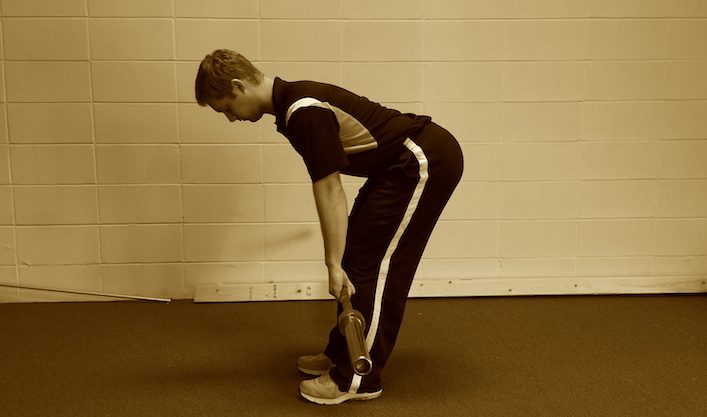
Begin by grabbing a barbell, dumbbells or kettlebells at arms length in front of the body. The torso should be tall and long, the feet approximately hip or shoulder-width apart, with the knees soft (i.e. very slightly bent).
From this starting position, push the hips back while imagining that the spine is welded in place. Once the spine is set, it should not move!
Push the hips back until you get a slight stretch in the hamstrings, and then push the hips and pelvis forward to return to the starting position.
Here’s an overview video from my Bulletproof Athlete product.
(And if you want more awesome coaching videos like this one, I have over 100 exercises outlined in the Bulletproof Athlete database. Be sure to check it out if you haven’t already.)
Now that we’ve covered how to RDL properly, let’s look at the six most common issues I see when coaching the lift.
How NOT to RDL
#1 – Knee position
Knee position is really tricky with the RDL; many athletes will struggle with the concept of keeping the knees slightly bent, while moving the torso and bar around them.
 The first issue you’ll see is that the knees are locked into place, or worse still, hyperextended.
The athlete understands that the spine should be locked, so in that same vein, they end up locking the knees into place as well.
On the other end of the spectrum, it’s not uncommon to see athletes who excessively bend or flex the knees as well.
 Excessive bending could happen for a handful of reasons:
- Stiff hamstrings/posterior chain,
- Weak hamstrings/posterior chain,
- Poor body awareness,
- Etc.
I will often cue my athletes to “shake out” or “soften” the knees slightly to set-up, and from that position, the knees will not move. Instead, the torso and the hips move around the knees.
#2 – Back position
While the knees are often a (somewhat) easy fix, the spine/back is a whole ‘nother can of worms.
We know that most people have horrible breathing mechanics, which drives their spine into all sorts of aberrant postures and positions.
And unfortunately for us lowly strength coaches and personal trainers, all of that comes home to roost when teaching someone to RDL!
 The first issue you’ll notice when teaching someone to RDL is excessive arching of the lower back.
Many moons ago I had a female high school basketball player who could get the bar past her knees, with minimal movement from her hips. Quite simply, she just arched her back harder and harder to get the range of motion!
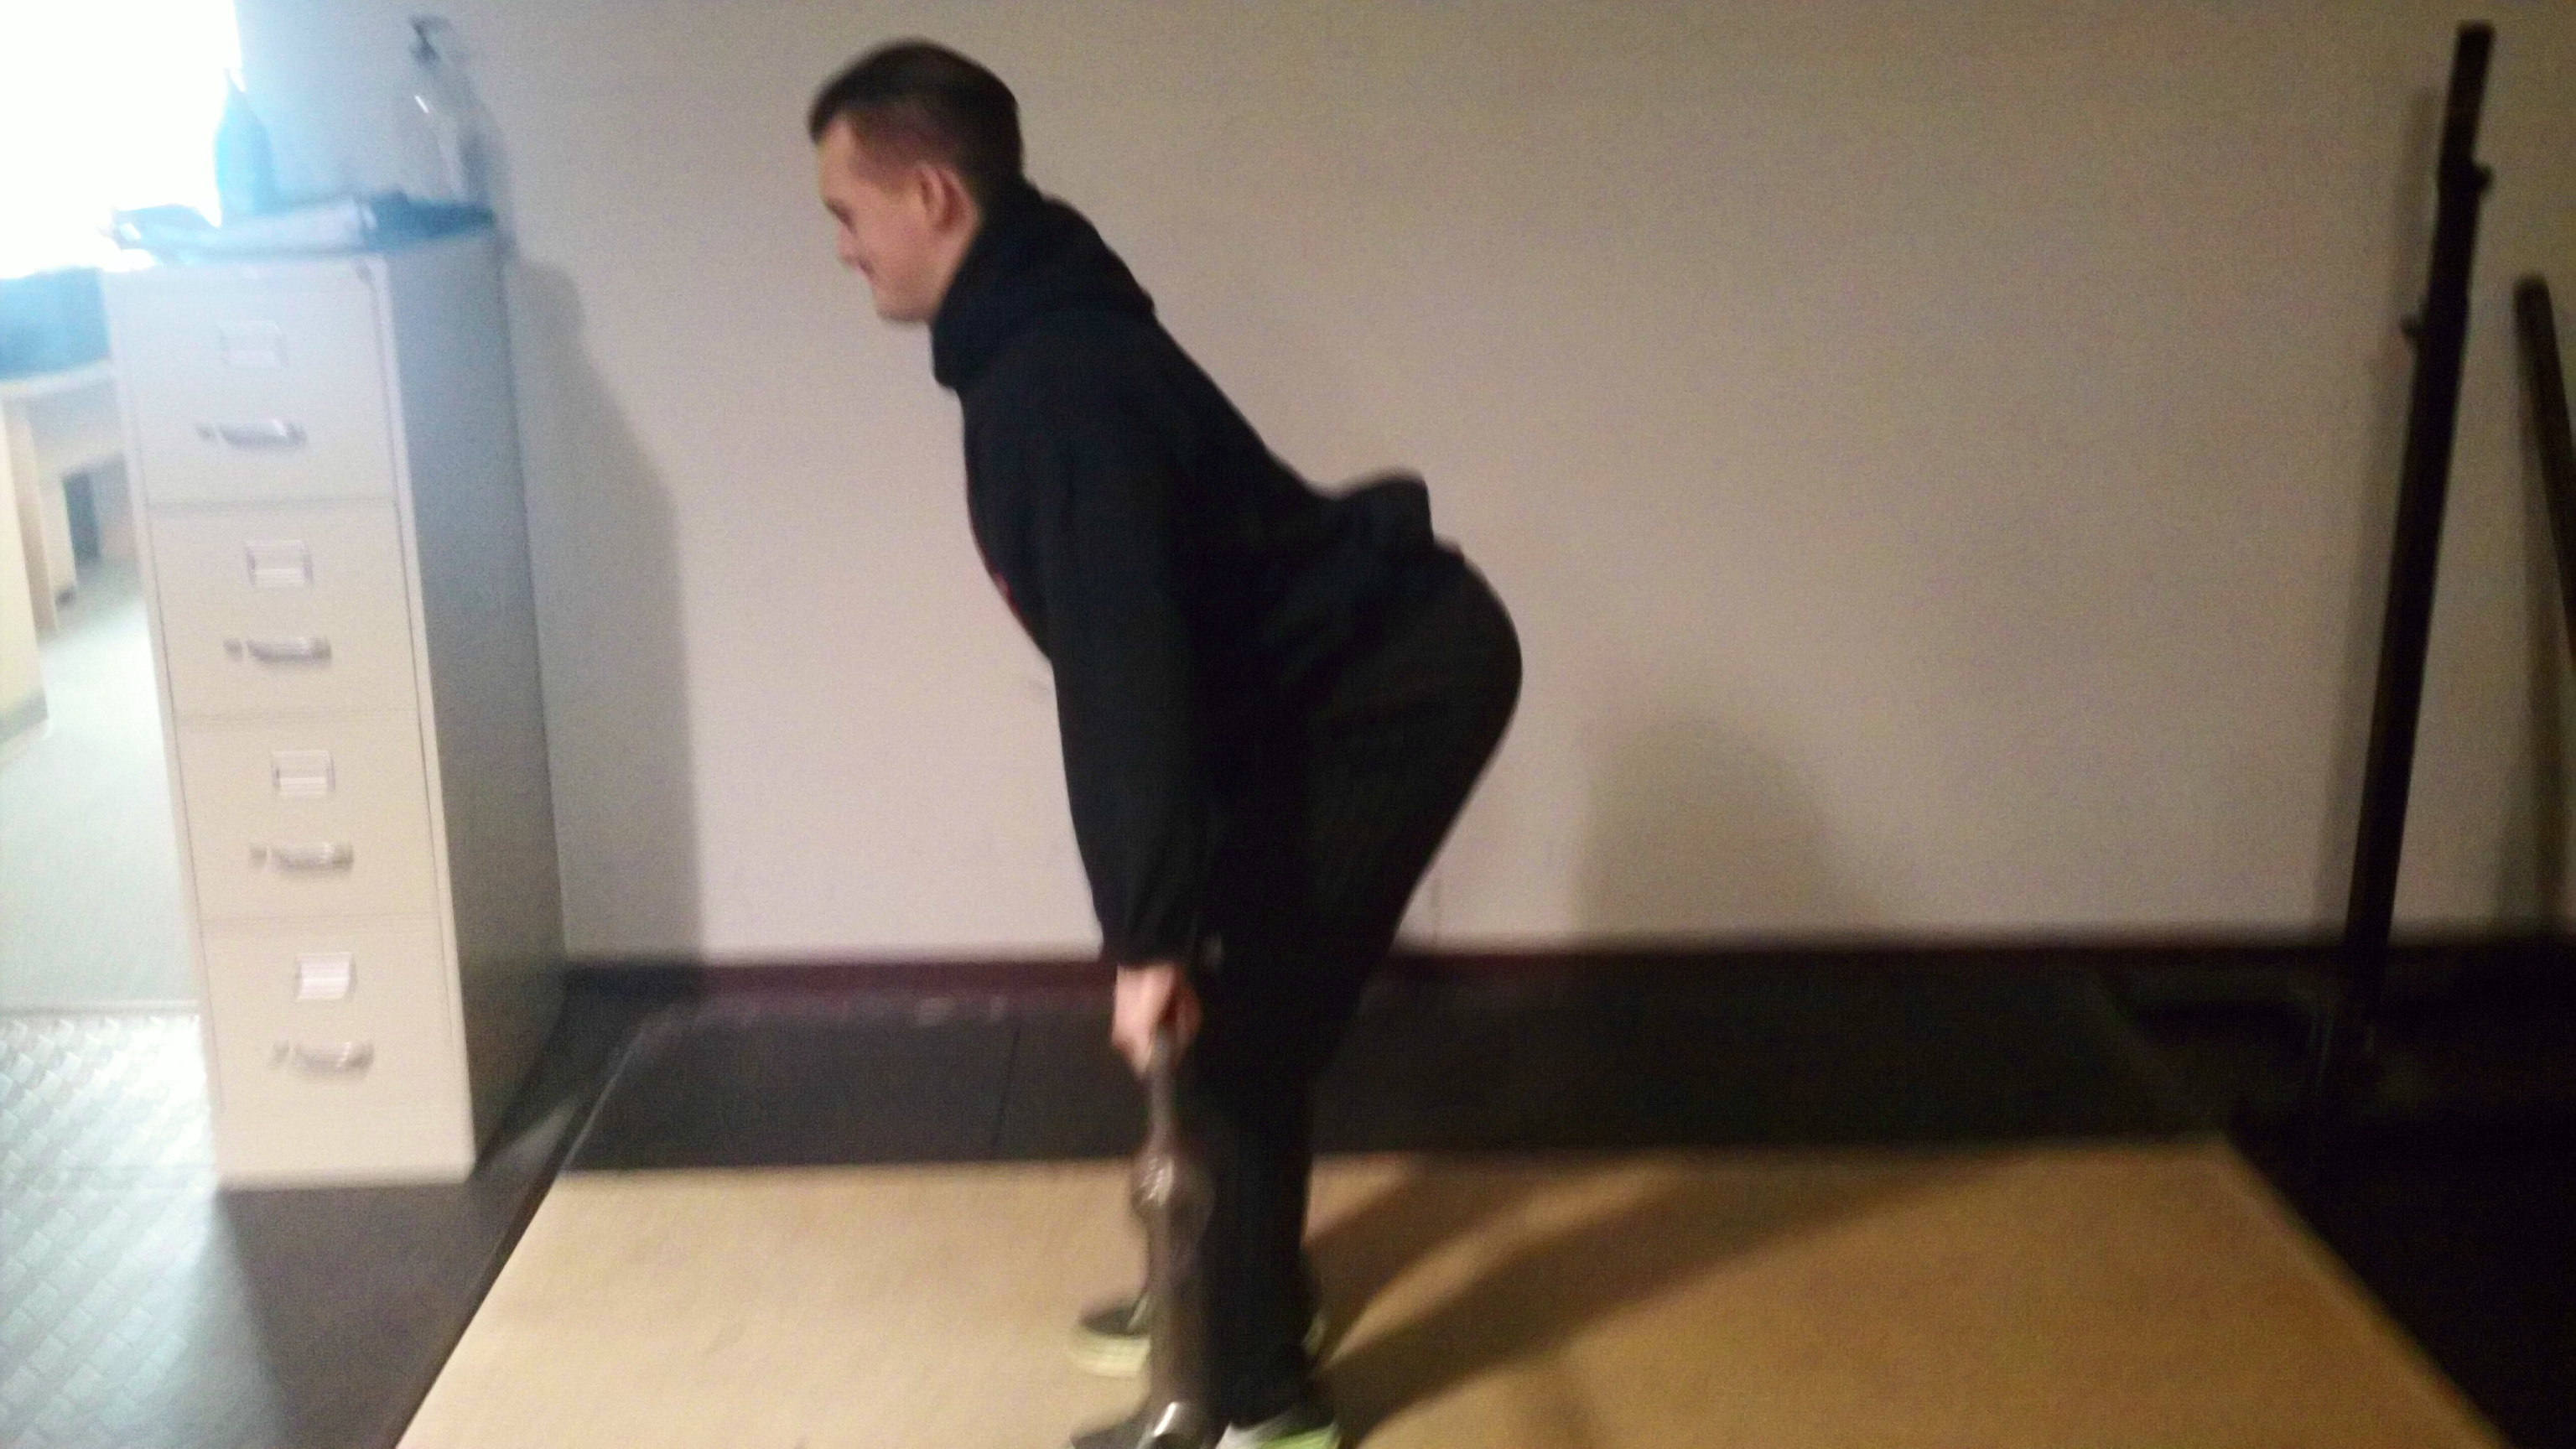
 On the flip side, you’ll also see athletes who have no clue what “neutral” looks or feels like, so as soon as they initiae the motion, the fall into lumbar flexion or a rounded spine.
To remedy this, my first go-to resource is a trusty piece of PVC pipe.
And I get it people – I’m sure I sound like the old man who keeps repeating himself on this one, but if you don’t use a PVC pipe to help athletes get a better kinesthetic understanding of where their body is in space, you’re missing the boat.
Place the PVC pipe on their back, and look for three points of contact (and really four items):
- PVC touching the back of the head,
- PVC touching the upper back,
- PVC touching the sacrum/buttocks, and
- A small gap (approximately finger-width) between the lumbar spine and the PVC pipe.
The three points of contact helps ensure that you’re neutral/straight top-to-bottom, and the small “gap” between the pipe and the lumbar spine ensures you aren’t in too much flexion or extension.
Here’s a short video that discusses neutral spine in more depth:
#3 – Neck position
You can’t talk about low back position without talking about neck position, as they too are intimately connected.
Just like the back can get too flexed or too extended, so too can the neck.
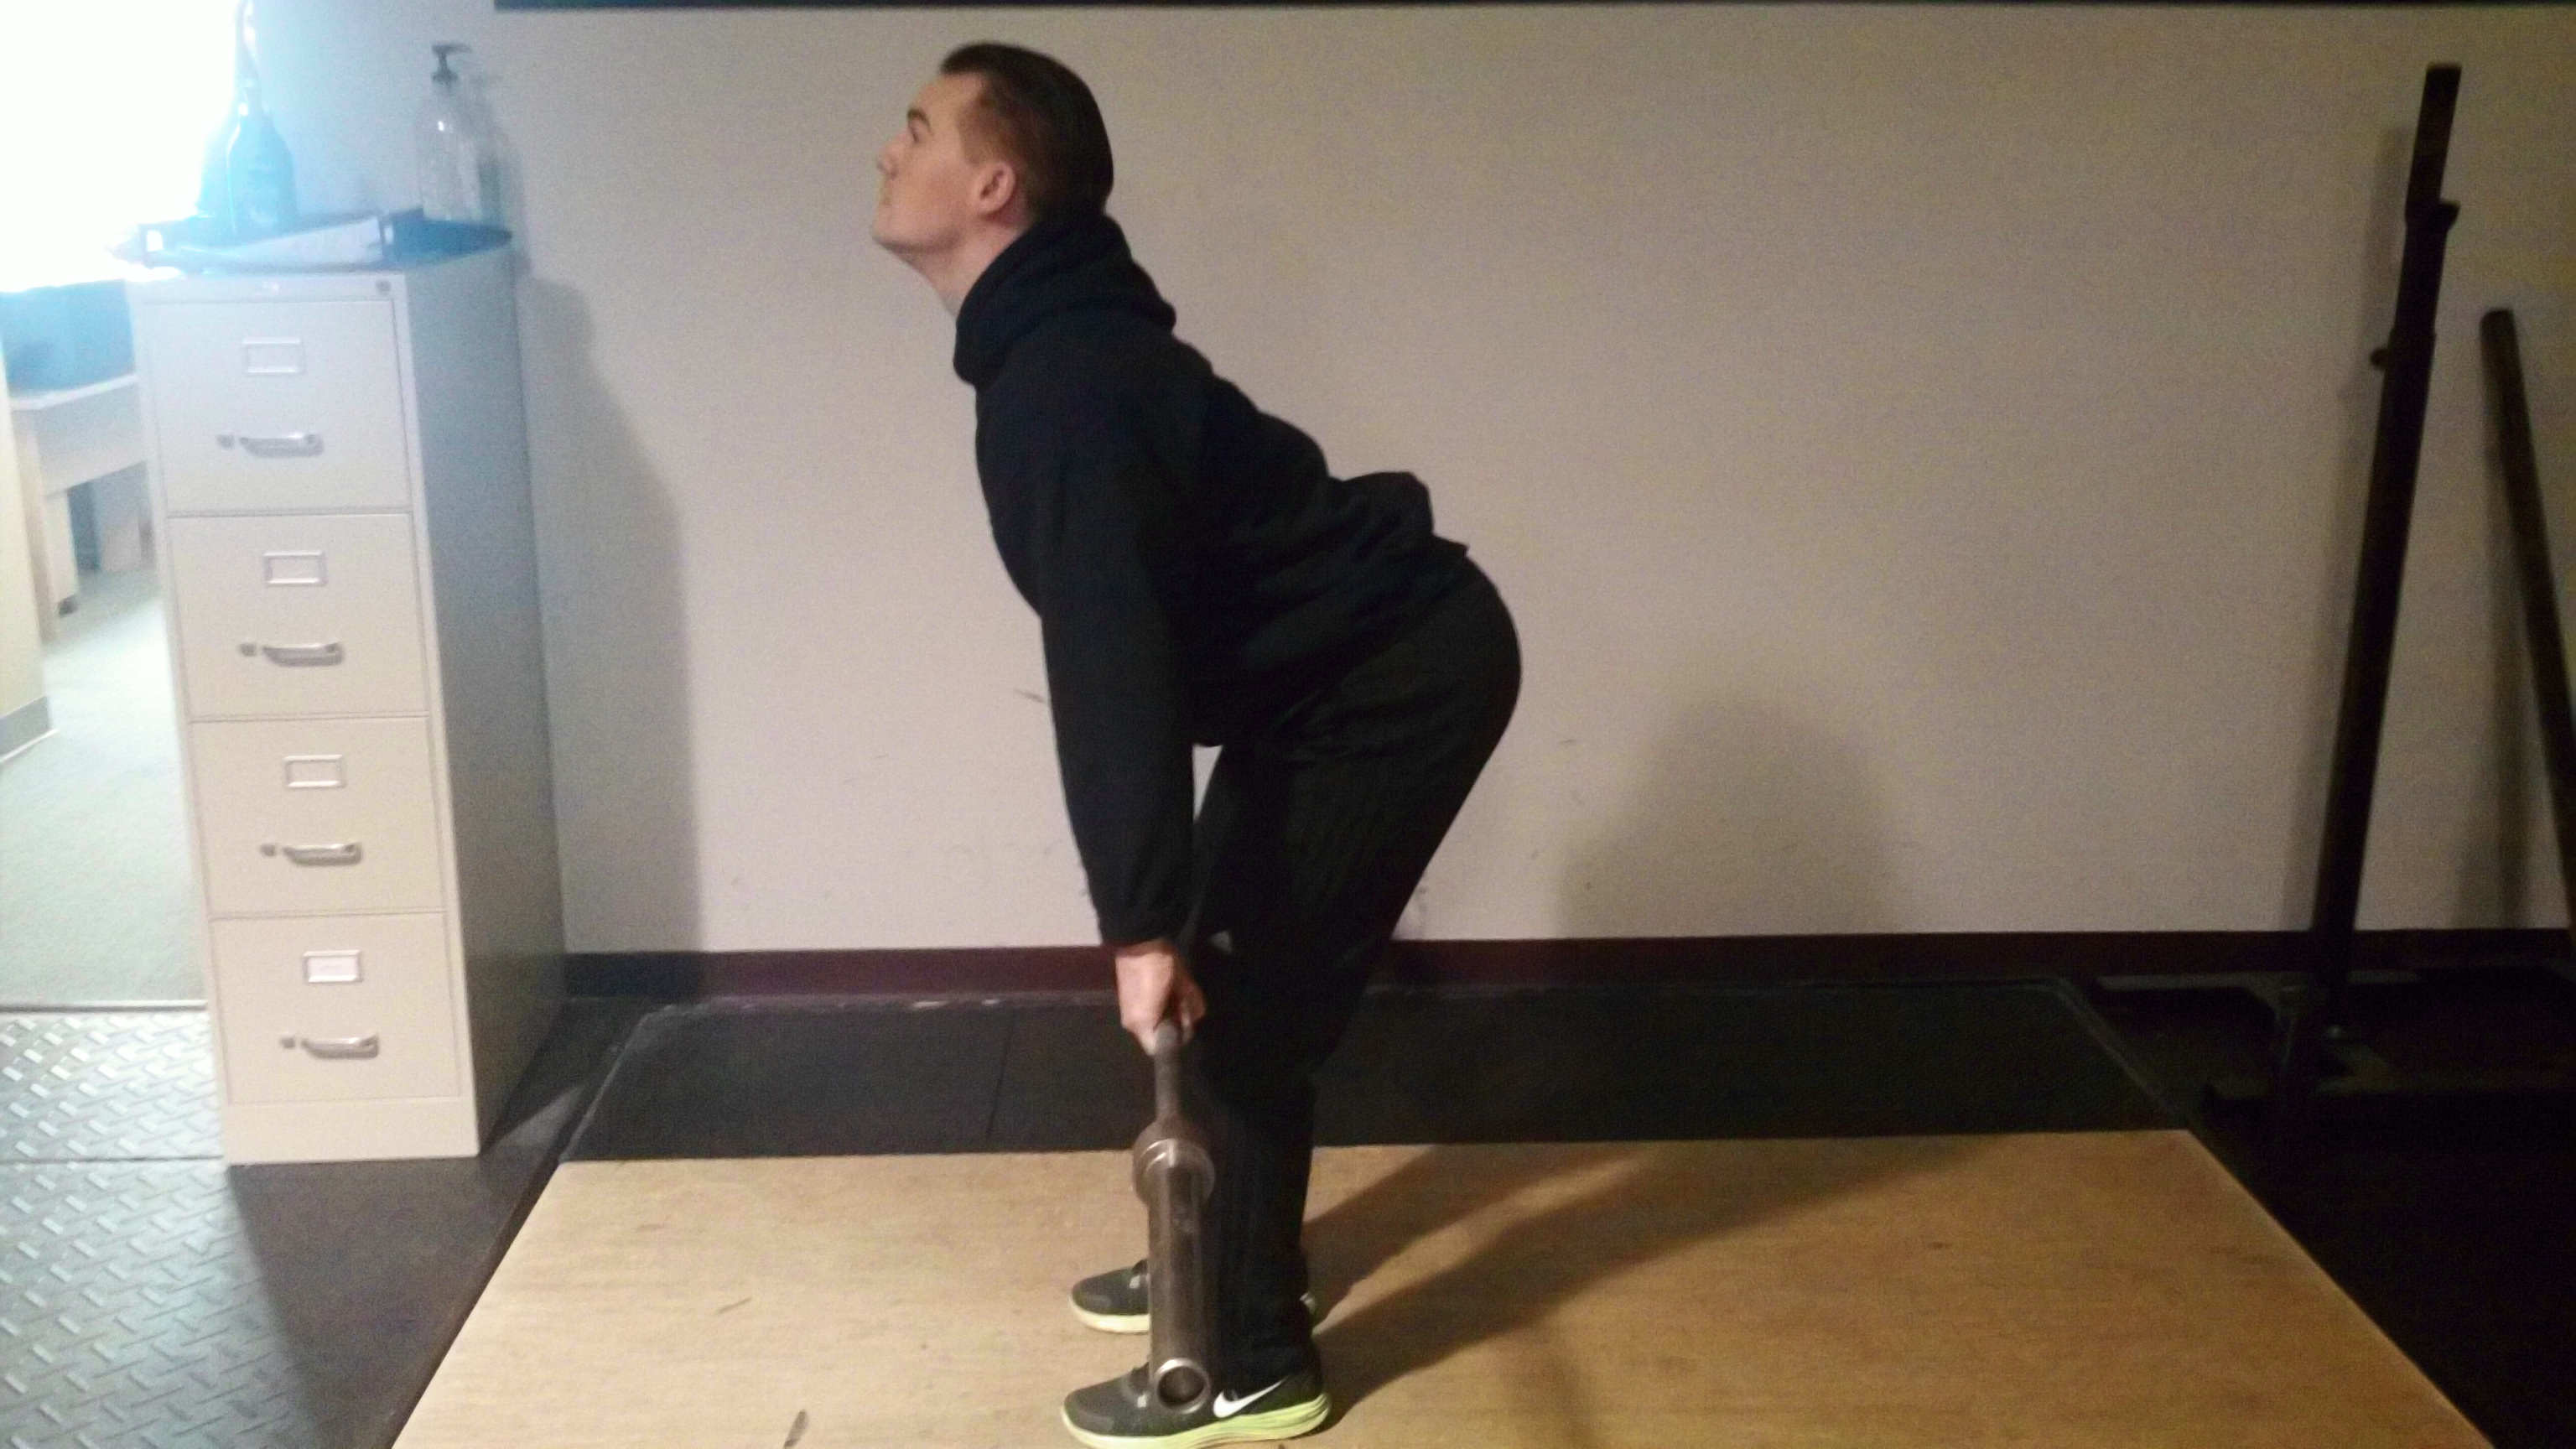 The big flaw that you’ll notice is hyperextension of the neck. This often happens when I start fixing someone’s lower back position; I take away their extension from one place, so they compensate by going into more extension somewhere else!
Think of it like this – if your only way of creating stability is to arch, you really want to arch. It’s patterned, and your body wants to go there.
So it doesn’t make sense for me to fix it at your lower back, and not fix it at your neck. This is where the PVC pipe comes into play, as you give them a frame of reference and follow it up with cues such as “chin down” or “tuck the chin.”
 On the flip side, if someone has poor neck position (either due to weakness in the deep neck flexors, strong accessory breathing muscles, etc.) then they will have a tendency to either flex the neck, or allow it to jut forward.
Again, the PVC pipe works wonders here because you can cue the athlete to “pull” their head and neck back to the pipe. It’s going to feel incredibly awkward, but they often feel the movement more than they ever have before.
And one more note – when cleaning this up, you’ll often notice that the “head back” cue may lead to hyperextension of the neck. To fix this, you may have to start with “head back” and then follow up with “and chin down.”
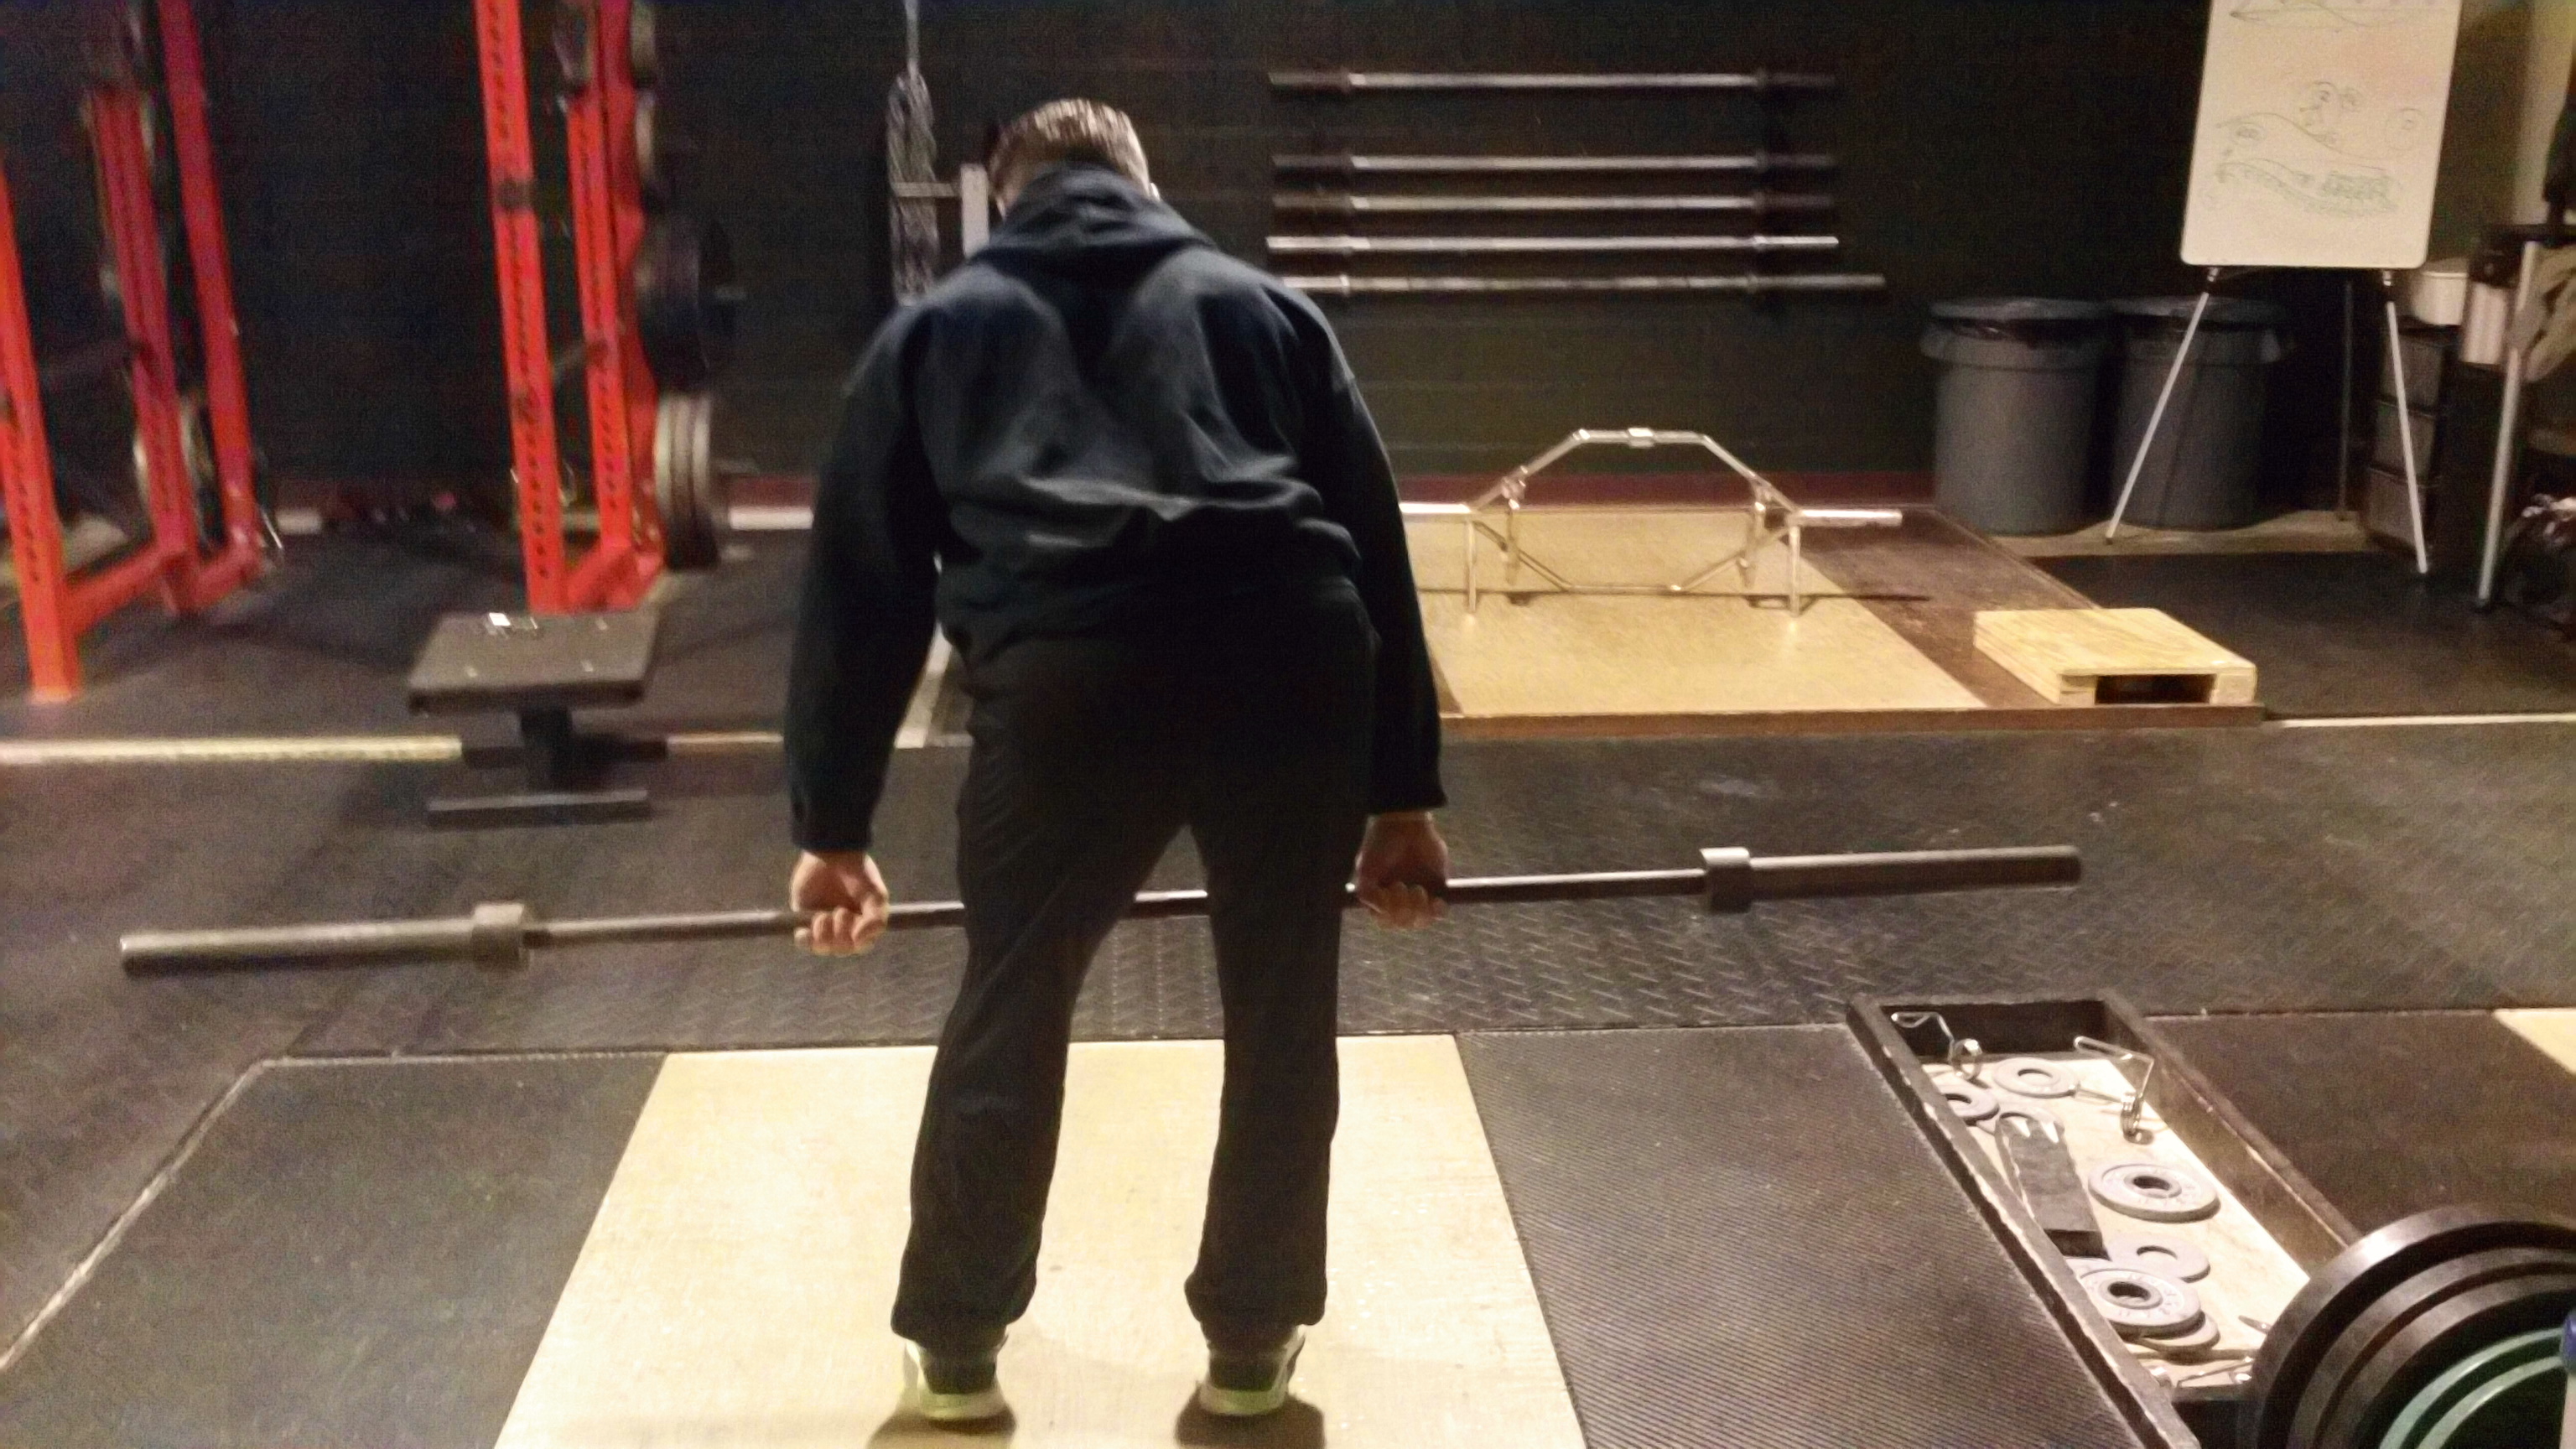
#4 – Knee position (again)
The first three points really focused on the sagittal plane, or coaching a athlete from a 90 degree angle. Now let’s see what can and should be fixed from the front and back.
Knee position is another big issue, but this time with regards to frontal (side-to-side) and transverse plane (rotary) movement. While I didn’t mention it before, I will say it here: Fix the sagittal plane and side view stuff first. If you don’t clean up the sagittal plane, you’ll never get the frontal and transverse planes looking the way you want.
 When coaching athletes from the front or back, it’s not uncommon to see the knees caving in towards each other (valgus) or rotating inwards (internal rotation).
This could be due to a poor starting position. If you allow your athletes to place the feet really wide, this will happen. Fix the feet first.
If the feet are spaced properly, then this is typically due to weakness in the hips or lateral hamstrings. If the knees are caving inwards, cue the athlete to “push” the knees out. If the knees are rotating inwards, cue the athlete to “turn” the knees out.
If they struggle with the concept, I’ll actually have them put the weight down and just go into the bottom of the motion and hold it. I’ll go down on one knee in front of them and show them where their knees are, and the move them into the position I want them to be in.
This is often a light-bulb moment, and just putting them in the appropriate position often turns on muscles they didn’t know they have!
#5 – Hip shifting
 Hip shifting is another common error that you’ll see when teaching athletes to RDL.
Hip shifting could occur for any number of reasons:
- Unilateral hip/thigh weakness,
- Stiffness in one posterior hip capsule,
- Etc.
Obviously I will try and coach someone out of this first. It could be as simple as cuing them to push into the opposite hip, or using your hands to put them in the appropriate position.
However, if you’re coaching and cuing until you’re blue in the face, this may be more of a musculo-skeletal issue that you need to address via correctives and specific strengthening/stretching before coming back to the RDL.
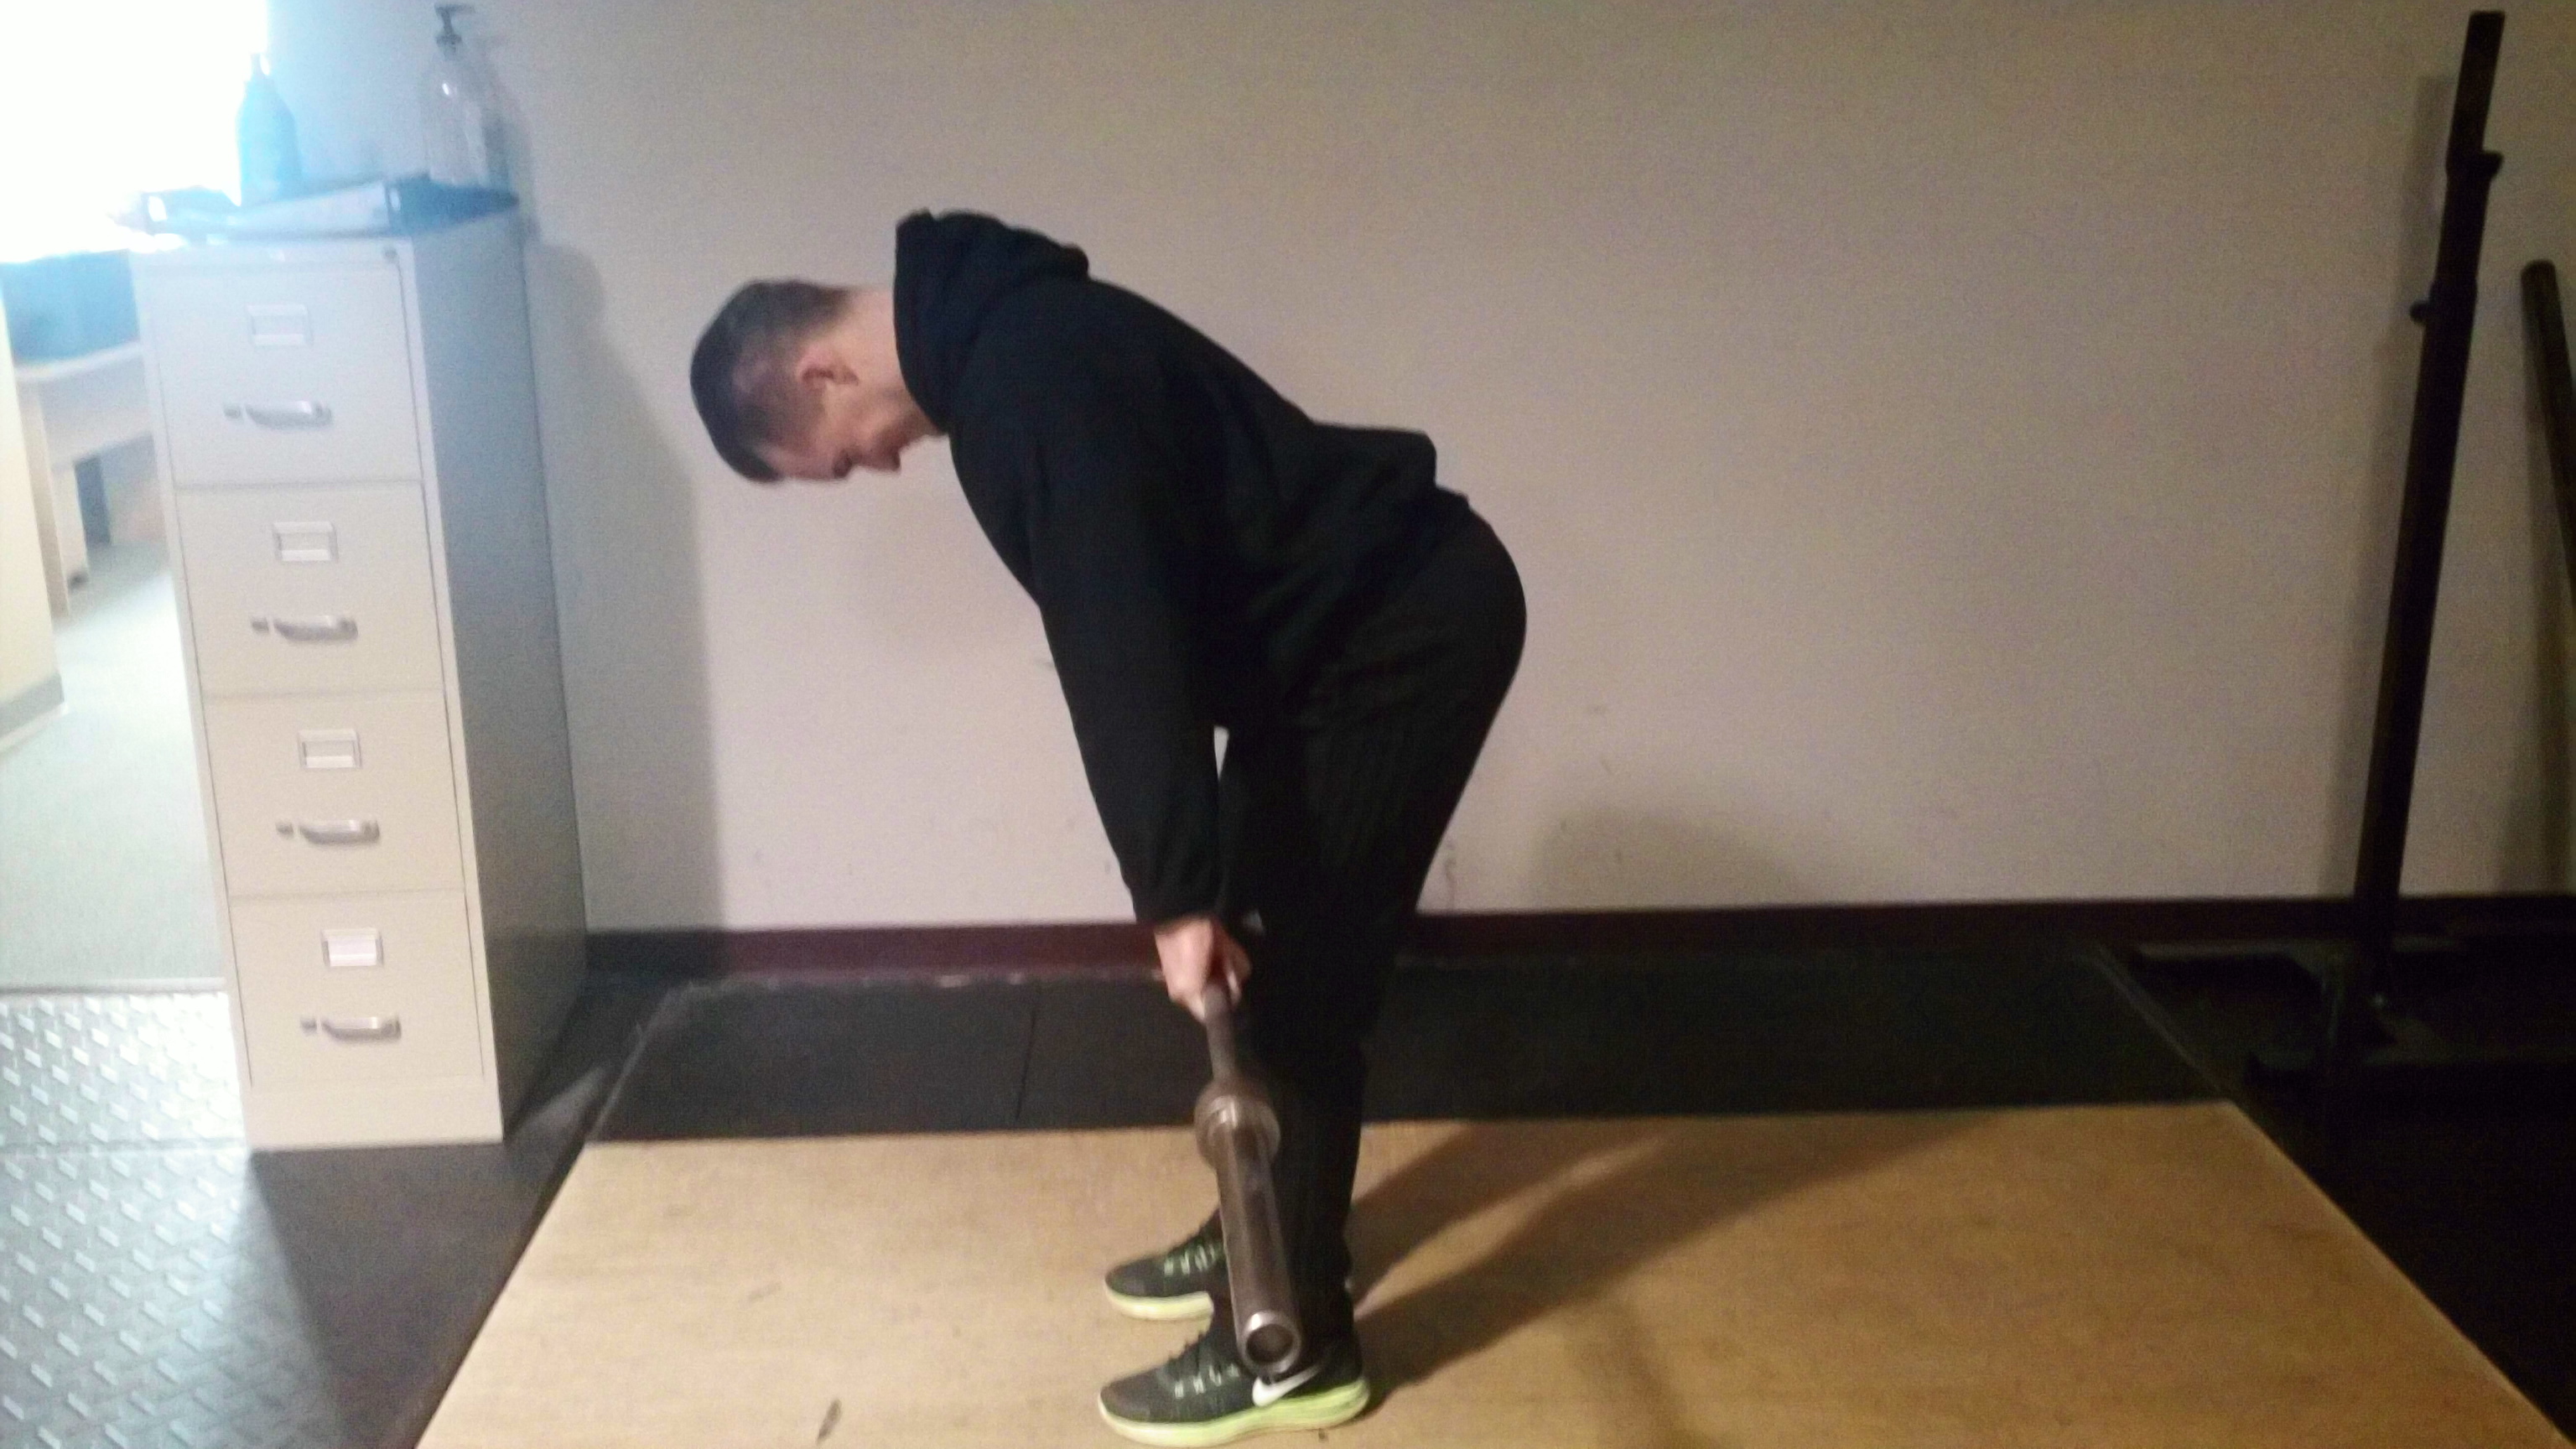
#6 – Bar position
Last but not least, we have bar position. You could do everything else right, but if the bar isn’t tight to the body, you’re going to limit the amount of weight you can handle, while putting an undue amount of stress and strain on your back.
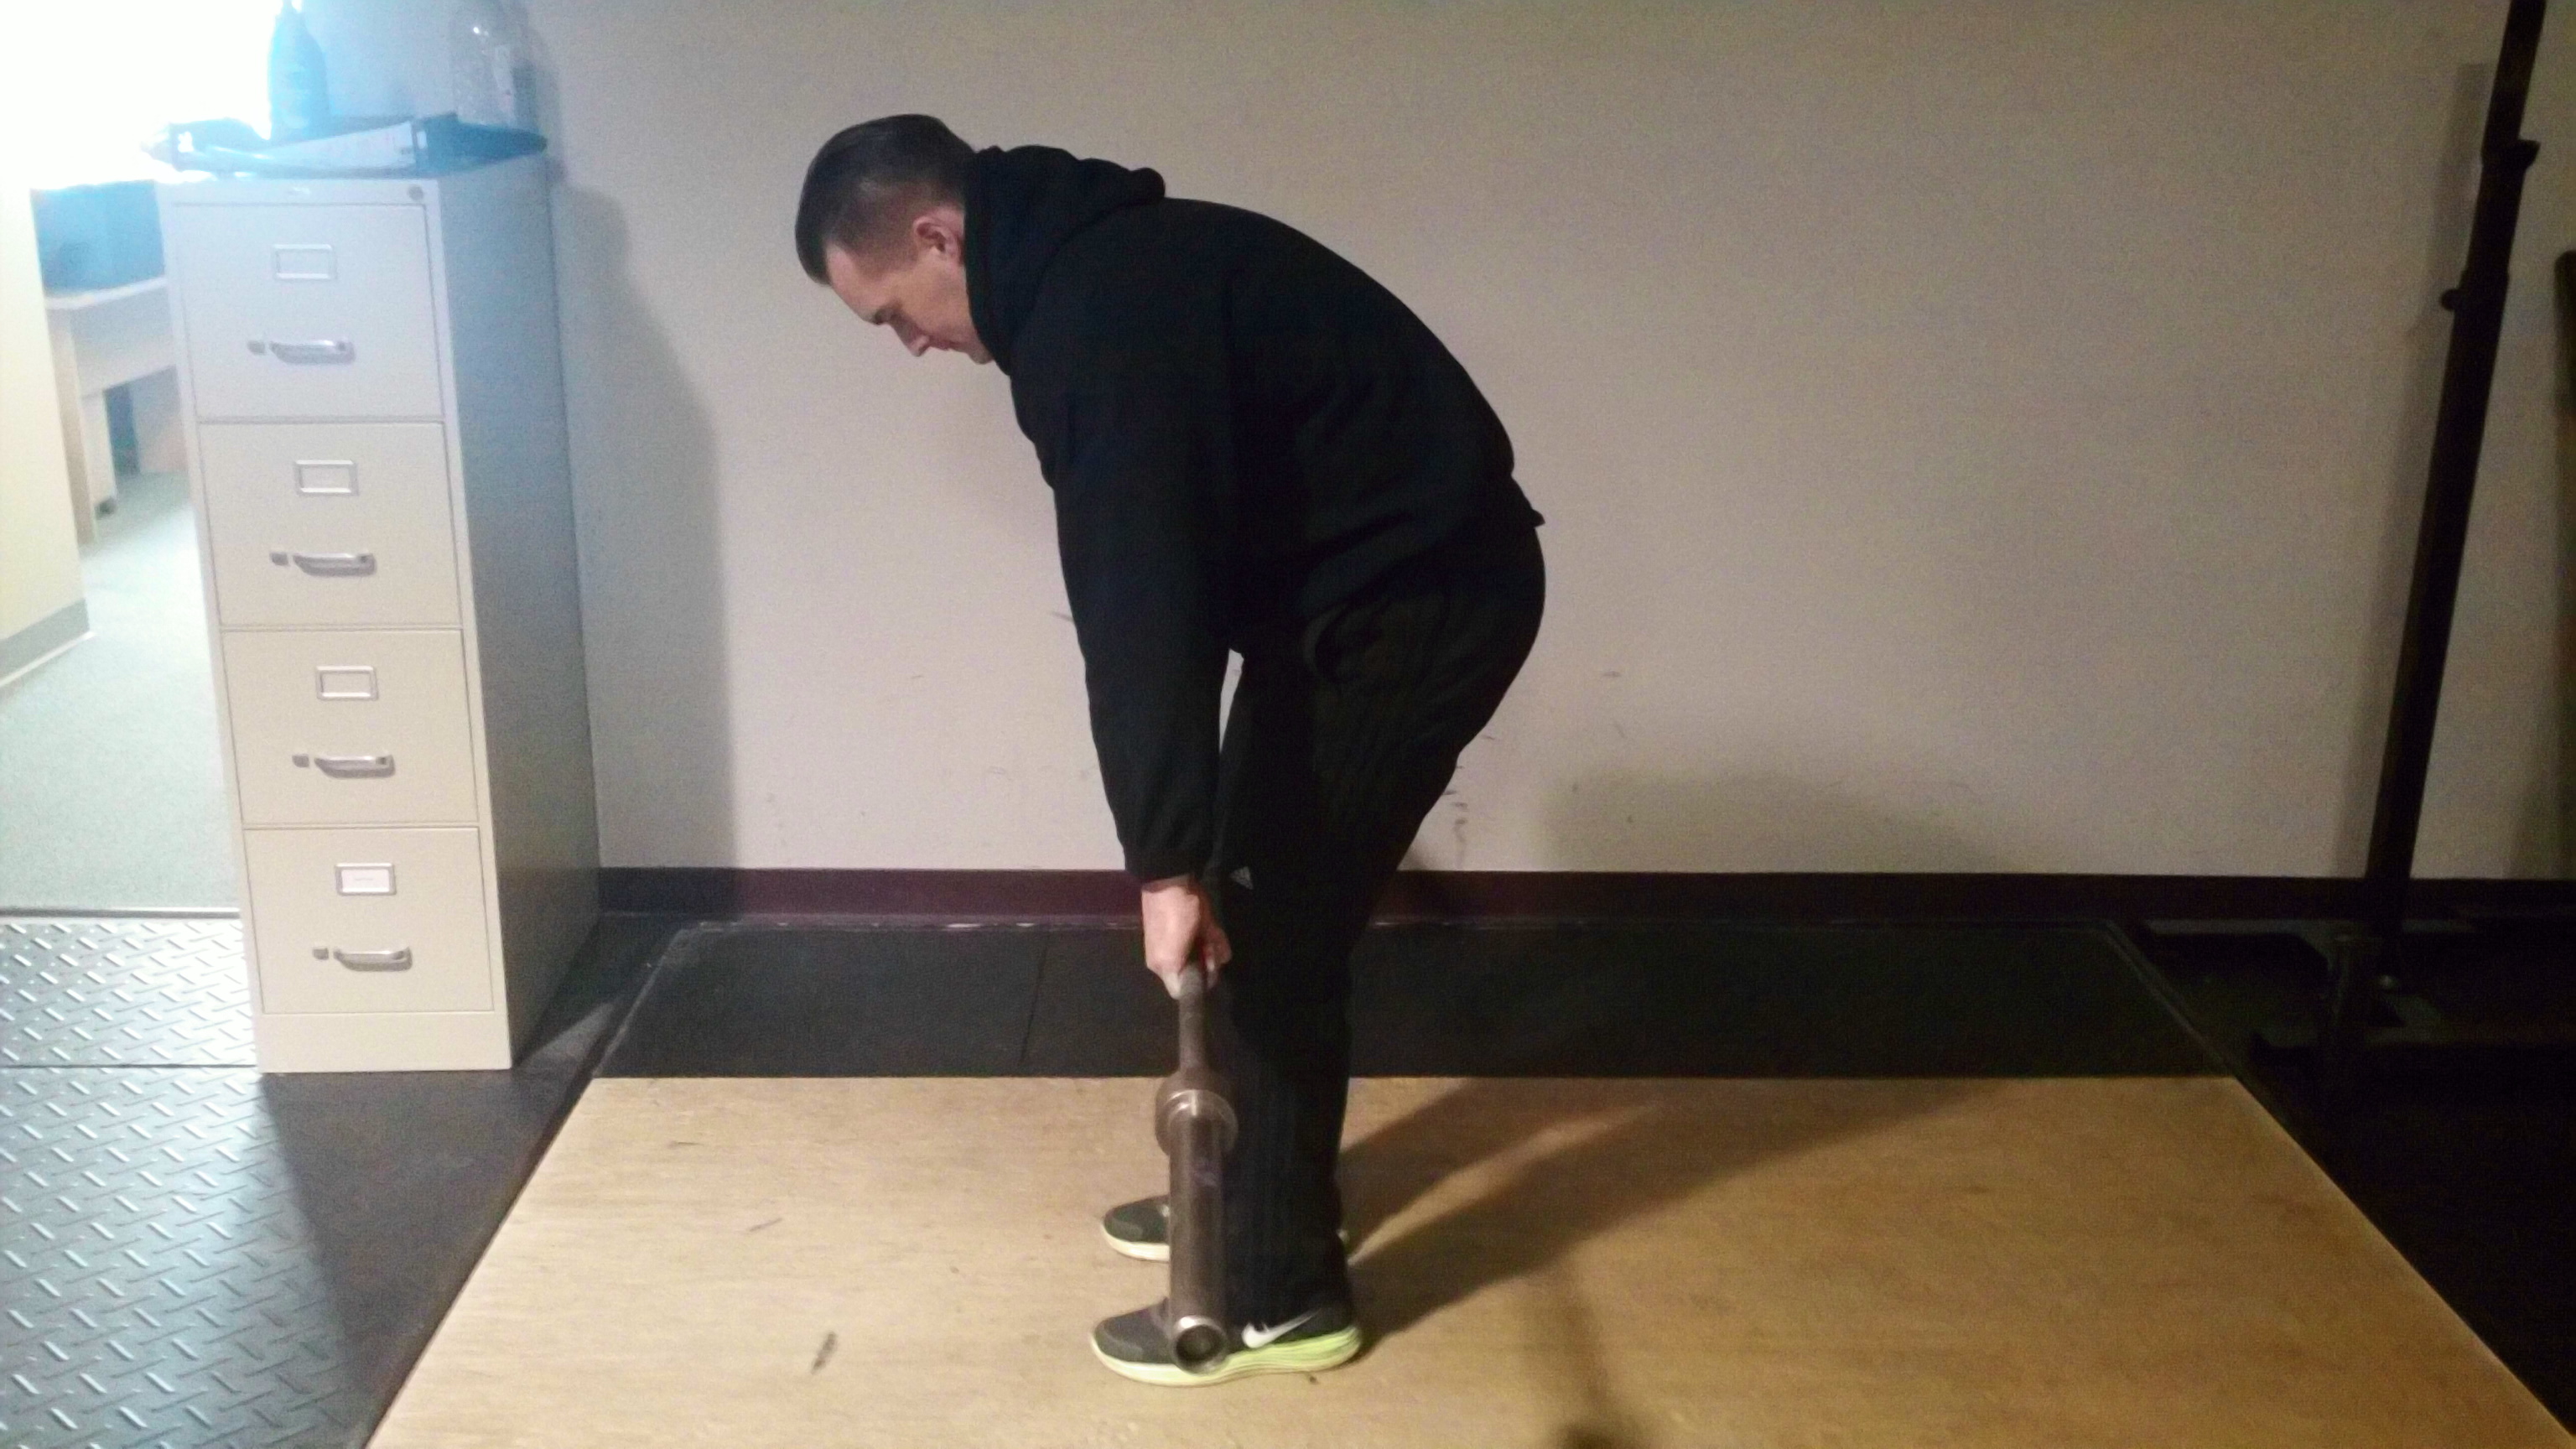
 From the starting position, the bar should slide down the thighs. Even in the bottom position, the bar should not drift forward (as in the picture to the right). The second it does this, it puts you in a very disadvantageous position.
To remedy this, engage the lats and think about “pulling” the bar back into the body throughout. It may help to think about this not only during the lowering portion of the lift, but even more so when returning from the starting position.
Here’s a short video that explains lat engagement, and how to do it properly:
Summary
So there you have it: Not only how to RDL, but also how not to RDL.
While it’s a neurologically complex movement for a lot of people, I wouldn’t coach it if I didn’t feel it was effective.
Take the time to learn how to coach this exercise properly, and I guarantee your athletes will get more out of this awesome movement.
Stay strong
MR